If you love homemade desserts, you’ll adore this Old-Fashioned Apple Crisp. It’s simple, comforting, and bursting with flavor. With just a few easy steps, you can create a delicious treat that highlights the sweet and tangy notes of fresh apples. From choosing the right spices to perfecting that crumbly topping, I’ll guide you through this delightful recipe. Get ready to impress your family with this classic dessert!
Why I Love This Recipe
- Simple Preparation: With just a few steps, you can create a delicious dessert that brings everyone together.
- Seasonal Delight: This recipe highlights the best of fall’s bounty, making it perfect for autumn gatherings.
- Customizable Topping: You can easily adjust the topping ingredients to suit your preferences, adding nuts or different spices.
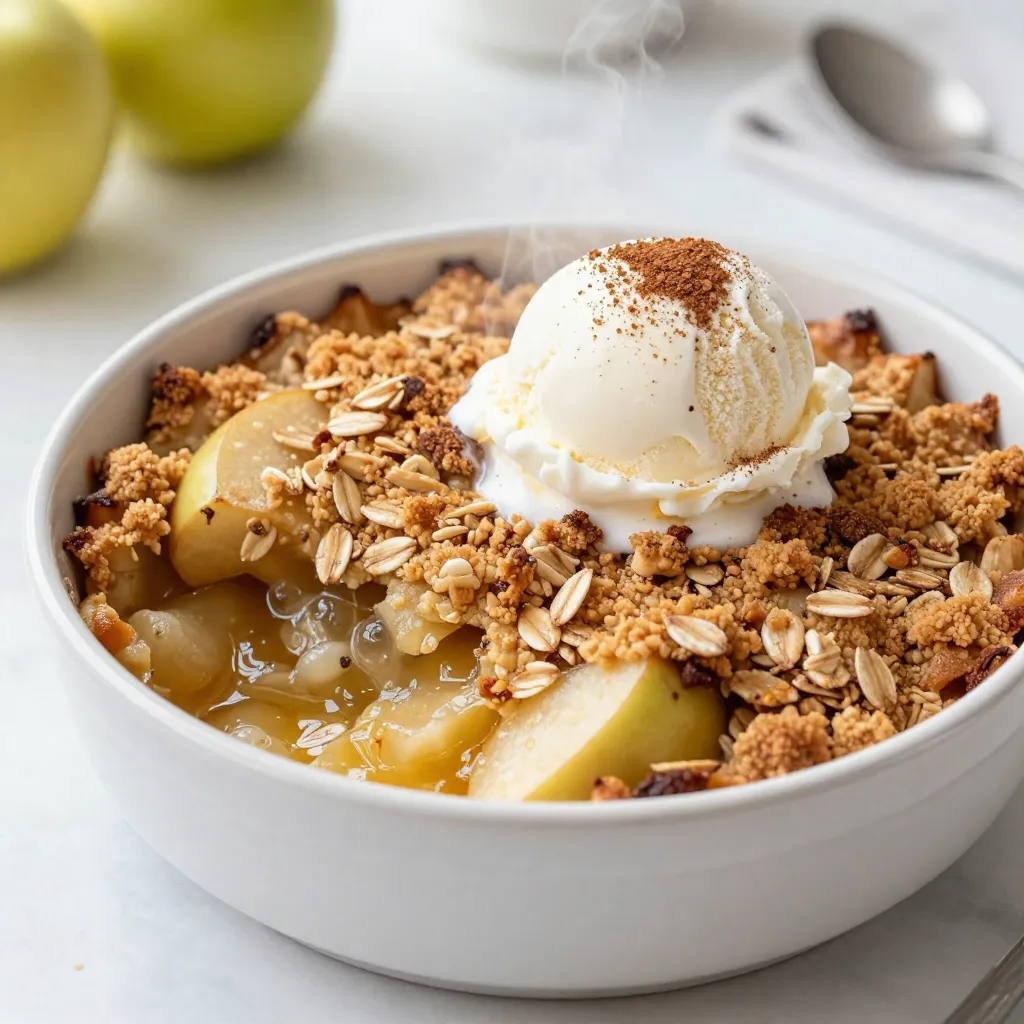
- Serve with Ice Cream: Pairing it with vanilla ice cream elevates the experience, creating a warm and cold contrast.
Ingredients
List of Ingredients
– Apples: You need 6 large, tart apples. Granny Smith works best. They add a nice tang and hold their shape when baked.
– Important spices and their roles: The recipe uses 1 teaspoon of cinnamon and 1/2 teaspoon of nutmeg. These spices give the dish warmth and depth. They make the apple crisp taste like a cozy fall day.
– Toppings and optional serves: For the topping, you need 1 cup of rolled oats, 1 cup of all-purpose flour, 1 cup of packed brown sugar, 1/4 teaspoon of salt, and 1/2 cup of melted unsalted butter. This mix creates a crunchy, sweet layer on top. You can serve it with vanilla ice cream or whipped cream for extra delight. A scoop of ice cream adds creaminess and contrast to the warm crisp.

Step-by-Step Instructions
Prepping the Ingredients
1. Preheat the oven to 350°F (175°C). This ensures your apple crisp bakes evenly.
2. Grease a 9×13 inch baking dish with butter or cooking spray. This keeps the crisp from sticking.
3. Prepare the apples by peeling, coring, and slicing them.
4. In a large bowl, toss the sliced apples with 1 tablespoon of lemon juice. This adds flavor and stops browning.
5. In another bowl, mix together 1 cup of rolled oats, 1 cup of all-purpose flour, 1 cup of brown sugar, 1 teaspoon of cinnamon, 1/2 teaspoon of nutmeg, and 1/4 teaspoon of salt. Stir well to blend the spices.
Assembling the Dish
1. Spread the apple mixture evenly across the bottom of your greased baking dish.
2. Pour the melted butter into the dry mixture and stir until it looks crumbly.
3. Evenly sprinkle the crumbly mixture over the apples, covering them completely.
4. Bake for 40-45 minutes in the preheated oven. Look for a golden topping and bubbly apples.
Serving Suggestions
– Serve warm in bowls. A scoop of vanilla ice cream or a dollop of whipped cream makes it special.
– For a lovely touch, garnish with a sprinkle of cinnamon or a few fresh apple slices. This adds color and flavor.
Tips & Tricks
Perfecting Your Apple Crisp
Selecting the best apples for flavor
Choose tart apples like Granny Smith. They offer a great balance of sweetness and tang. The tartness helps cut through the sugar in the crisp. You can also mix apples for a richer taste.
How to achieve a crisp topping
To get a great topping, use cold butter and mix it with oats and flour. This makes the topping crumbly. Make sure not to overmix. You want it to look like coarse crumbs. This will help it brown nicely in the oven.
Timing the bake for ideal texture
Bake your apple crisp for 40 to 45 minutes. Watch for a golden brown topping and bubbly apples. The smell will fill your kitchen. Let it cool for 10 minutes before serving. This helps the juices settle and makes it easier to serve.
Common Mistakes to Avoid
Mistakes in preparation and baking
One common mistake is not tossing the apples with lemon juice. This prevents browning and adds flavor. Another mistake is not preheating the oven. Always preheat for even baking. Lastly, avoid covering the dish while baking. You want that crisp topping!
Storage and reheating tips
Store leftovers in an airtight container in the fridge. They will last for about three days. If you want to freeze it, wrap it tightly in plastic wrap. To reheat, bake in the oven at 350°F (175°C) for about 15 minutes. This keeps the topping crisp.
Pro Tips
- Choose the Right Apples: Opt for tart apples like Granny Smith or Braeburn for the best flavor contrast with the sweet topping.
- Enhance the Flavor: Add a splash of vanilla extract to the apple mixture for an extra layer of flavor.
- Make it Crunchy: For a crunchier topping, consider adding chopped nuts such as walnuts or pecans to the oat mixture.
- Serve it Warm: Enjoy your apple crisp warm out of the oven for the best texture and flavor, especially when paired with ice cream.
Variations
Flavor Additions
You can change the flavor by using other fruits. Pears, peaches, or berries can work well. Each fruit brings its own taste, making the dish unique. You can also add nuts for crunch. Walnuts, pecans, or almonds add a nice texture. Just chop them up and mix them in.
Try using different spices too. Instead of just cinnamon, you can add ginger or allspice. These spices give a warm, cozy flavor. You can even use vanilla extract for a sweeter taste. Just a small amount can enhance the overall flavor.
Dietary Adjustments
If you need gluten-free options, you can swap the flour. Use almond flour or a gluten-free blend. Just make sure to check the labels. This keeps the dish safe for those with gluten issues.
For a vegan version, you can replace the butter. Use coconut oil or vegan butter. This keeps the rich flavor without dairy. You can also substitute the brown sugar with coconut sugar. It’s a great swap that still keeps it sweet.
Storage Info
How to Store Leftovers
After enjoying your delicious apple crisp, you may have some left. Store the leftovers in an airtight container. Keep it in the fridge for up to four days. The apples stay fresh, and the topping remains tasty.
If you want to save it longer, freezing works great! Cut your apple crisp into pieces. Wrap each piece in plastic wrap, then place them in a freezer bag. You can freeze it for up to three months. When you’re ready to eat, thaw it in the fridge overnight.
Reheating Tips
To reheat your apple crisp, you want it warm and crispy. The best way to do this is in the oven. Preheat your oven to 350°F (175°C). Place the apple crisp in an oven-safe dish. Cover it with foil to keep it moist. Heat it for about 15-20 minutes.
If you want a faster method, use the microwave. However, this can make the topping soft. Heat it for 30 seconds. Check it, and if it needs more time, heat it in 15-second bursts. Enjoy your warm apple crisp!
FAQs
Can I use different types of apples for this recipe?
Yes, you can use many types of apples. I like tart apples, like Granny Smith, for balance. You can mix sweet and tart apples for more flavor. Some popular choices include Honeycrisp, Fuji, or Jonagold. Each apple gives a unique taste to your crisp.
How do I know when the apple crisp is done?
Your apple crisp is done when the topping is golden brown. The apples should be bubbly and soft. You can check by poking the apples with a fork. If they are tender, it’s time to take it out of the oven.
Can I make apple crisp ahead of time?
Yes, you can prep your apple crisp beforehand. Just assemble it and store it in the fridge for up to 24 hours. When you’re ready, bake it right from the fridge. Just add a few extra minutes to the baking time.
What is the best way to reheat apple crisp?
To reheat apple crisp, use the oven for the best results. Preheat your oven to 350°F (175°C). Place the crisp in a baking dish and cover it with foil. Bake for about 15-20 minutes, or until warmed through. You can also use the microwave for quick reheating, but the texture may change.
This blog covered how to make a tasty apple crisp, starting with key ingredients. You learned how to prepare the apples, mix the topping, and bake the dish. We also discussed tips for picking apples and avoiding common mistakes. Variations let you explore fruits and dietary options. Now you know how to store leftovers and reheat them to keep the crisp texture. Enjoy making your apple crisp and sharing it with others! It’s a simple treat that can bring joy to any gatherin