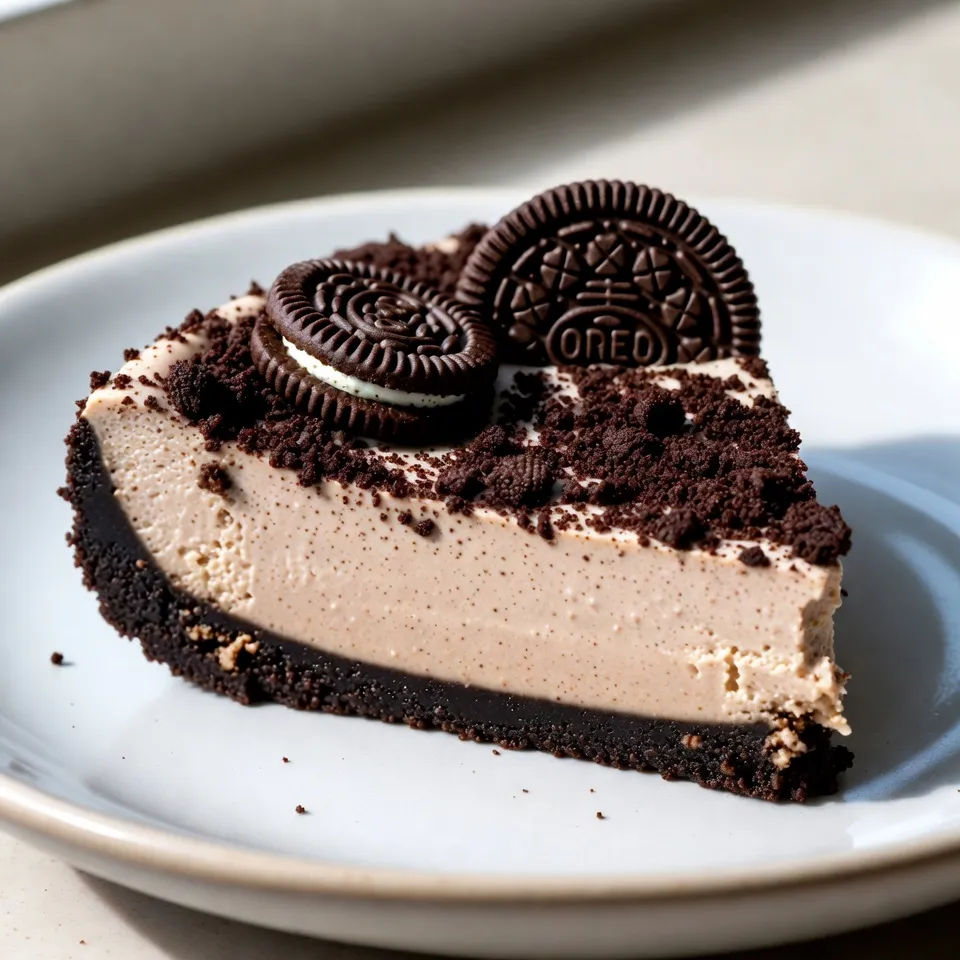
If you crave a simple yet delicious dessert, look no further! This No-Bake Oreo Cheesecake combines rich cream cheese and crunchy Oreos for a treat everyone loves. With easy steps and just a few ingredients, you’ll impress your friends and family in no time. Say goodbye to baking stress and hello to your new favorite dessert! Let’s dive into this easy and tasty recipe. You’ll be thrilled you did!
Why I Love This Recipe
- Decadent Flavor: This cheesecake offers a rich and creamy texture combined with the beloved taste of Oreos, making it a perfect dessert for any occasion.
- Easy to Make: With simple ingredients and straightforward steps, you can whip up this cheesecake without any hassle, even if you are a beginner in the kitchen.
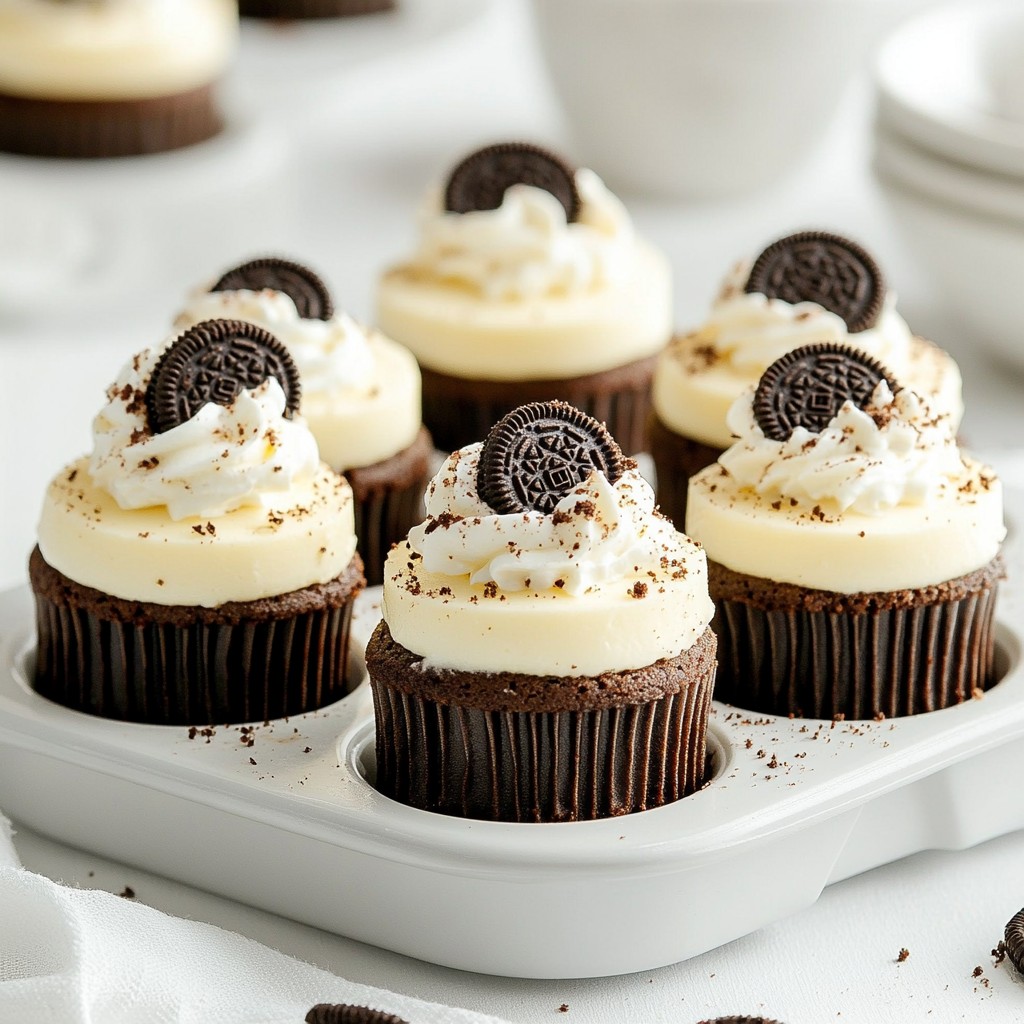
- Impressive Presentation: The beautiful layers and crushed Oreos on top create a stunning dessert that will wow your guests and make any gathering feel special.
- Perfect for Any Occasion: Whether it’s a birthday, holiday, or just a sweet treat for yourself, this cheesecake fits every celebration and will leave everyone wanting more.
Ingredients
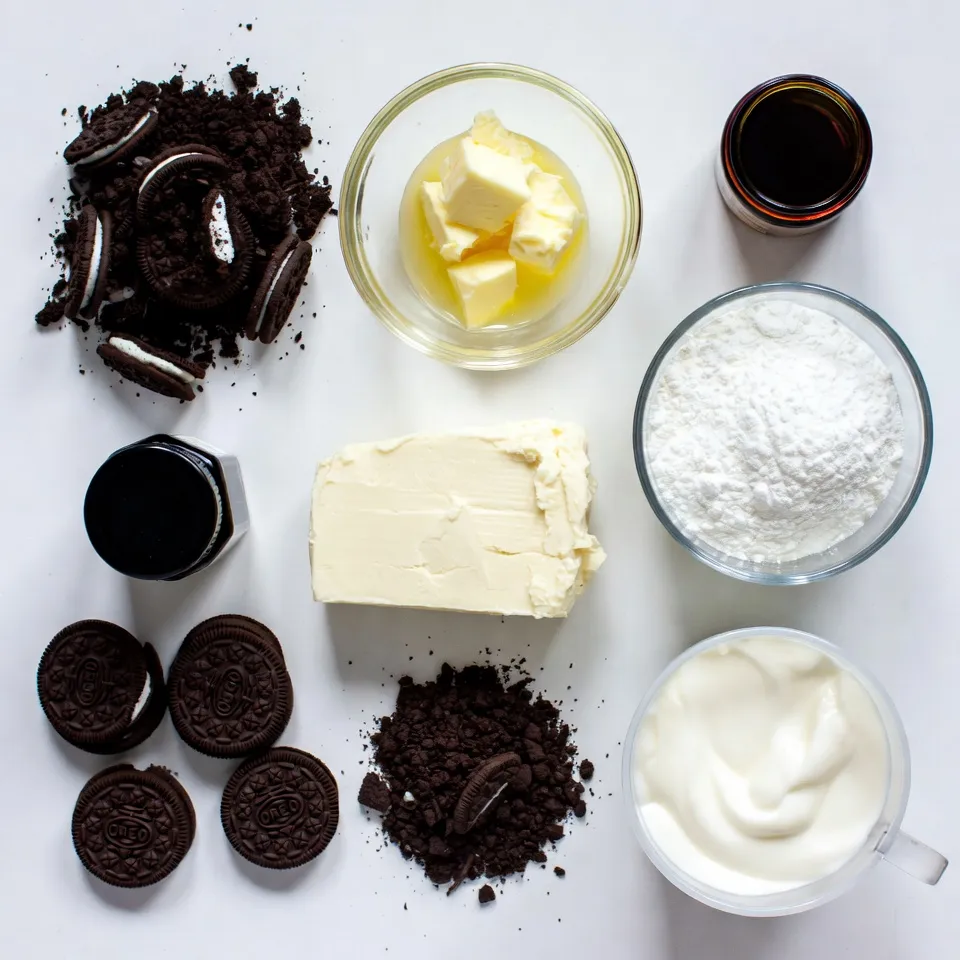
List of Essential Ingredients
– 24 crushed Oreo cookies
– 5 tablespoons melted unsalted butter
– 16 oz softened cream cheese
– 1 cup powdered sugar
– 1 teaspoon vanilla extract
– 1 cup heavy whipping cream
– 8 chopped Oreo cookies (for filling)
– Extra crushed Oreos (for topping)
Gather these ingredients to make your No-Bake Oreo Cheesecake. The crushed Oreo cookies form a tasty crust that holds it all together. The unsalted butter helps bind the crust while adding richness. Cream cheese gives the cheesecake its creamy texture and flavor.
Powdered sugar adds sweetness without any graininess. Vanilla extract gives a lovely aroma and enhances the flavor. Heavy whipping cream makes the filling light and fluffy. The chopped Oreos mixed into the filling add more flavor and fun texture. Finally, extra crushed Oreos on top make for a delightful presentation.
With these simple ingredients, you can create a dessert that everyone will love. They are easy to find and work with, making your baking journey enjoyable.
Step-by-Step Instructions
Preparing the Crust
To start, grab a mixing bowl. Add your 24 crushed Oreo cookies and 5 tablespoons of melted butter. Mix them well. You want it to be combined completely. Next, take a 9-inch springform pan. Press the Oreo mixture firmly into the bottom of the pan. Make sure it spreads evenly. This will form your crust. Place the pan in the refrigerator. Let it chill while you make the filling.
Making the Filling
In a large bowl, beat 16 ounces of softened cream cheese until smooth. This is key for a creamy texture. Now, add 1 cup of powdered sugar and 1 teaspoon of vanilla extract. Beat the mixture again until it’s well combined. In another bowl, whip 1 cup of heavy cream until stiff peaks form. This will give your cheesecake a light and fluffy texture. Carefully fold the whipped cream into the cream cheese mixture. Be gentle to keep it fluffy. Then, fold in 8 chopped Oreo cookies. This adds fun bits throughout your filling.
Assembling and Chilling the Cheesecake
Now, take your crust out of the fridge. Pour the creamy filling over the crust. Use a spatula to smooth the top. To get rid of air bubbles, tap the pan lightly on the counter. This step is important for a nice texture. Cover the cheesecake with plastic wrap. Refrigerate it for at least 4 hours, or overnight if you can. This helps it set properly. When it’s done, remove the sides of the springform pan. You can now decorate the top with extra crushed Oreos for a fun look.
Tips & Tricks
Achieving the Perfect Cream Cheese Mixture
Softened cream cheese is key. It helps create a smooth filling. If it’s too cold, you’ll end up with lumps. Leave it out for an hour before mixing. Start beating it on low speed. Gradually increase the speed to avoid splatter. Mix until it’s creamy and well-blended. This step sets the base for your cheesecake.
Whipping Cream Like a Pro
To achieve stiff peaks, start with cold cream. Use a chilled bowl and beaters for the best results. Whip on medium-high speed until peaks form. Be careful not to over-whip, or you’ll get butter! Once whipped, gently fold it into the cream cheese. Use a spatula and scoop from the bottom. This keeps the light texture intact.
Presentation and Serving Suggestions
Garnish is everything! Use extra crushed Oreos on top for crunch. Add whipped cream or whole Oreos for flair. Serve slices on decorative plates for a nice touch. Aim for a cool temperature when serving. It enhances the creaminess. Pair it with fresh berries for a fresh contrast.
Pro Tips
- Chill the Cream Cheese: Ensure your cream cheese is at room temperature for easy blending and a smoother filling.
- Don’t Overmix the Whipping Cream: Fold the whipped cream into the cream cheese mixture gently to maintain its light and airy texture.
- Use Quality Ingredients: High-quality Oreo cookies and cream cheese will enhance the overall flavor of your cheesecake.
- Let it Set Overnight: For the best texture and flavor, allow the cheesecake to chill for at least 8 hours before serving.
Variations
Flavor Variations
You can change the flavor of your cheesecake easily. Try adding mint or peanut butter for a fun twist. Just mix in a few tablespoons of your favorite flavor. You can also use different cookies for the crust or filling. Instead of Oreos, use chocolate or vanilla wafers. This can change the whole taste of your dessert.
Alternative Toppings
Toppings can really personalize your cheesecake. You can add fresh fruits like strawberries or blueberries. Drizzle some chocolate or caramel sauce on top for extra sweetness. If you want a festive touch, use colorful sprinkles or themed decorations. Think about adding mini candies for a fun look.
Dietary Modifications
If you need a gluten-free version, use gluten-free cookies for the crust. Look for brands that fit your needs. For a vegan twist, swap the cream cheese for a plant-based option. Use coconut cream instead of whipping cream. These changes keep the creamy taste without dairy.
Storage Info
How to Store Leftover Cheesecake
To keep your leftover cheesecake fresh, follow these tips:
– Refrigerate: Place the cheesecake in an airtight container. This helps keep it moist. If you don’t have a container, cover it tightly with plastic wrap.
– Freezing: For longer storage, slice the cheesecake. Wrap each slice in plastic wrap and store in a freezer bag. This makes it easy to grab a piece later.
Shelf Life
In the fridge, your cheesecake stays fresh for about 4 to 5 days. After that, it may spoil. Watch for these signs of spoilage:
– Odor: A sour smell means it’s time to toss it.
– Texture: If it feels slimy or too hard, it’s best to throw it away.
– Color: Any dark spots can indicate mold, so check carefully.
FAQs
Can I use other cookies instead of Oreos?
Yes, you can switch Oreos for other cookies. Here are a few great options:
– Chocolate sandwich cookies
– Graham crackers
– Digestive biscuits
– Vanilla wafer cookies
Each cookie gives a unique taste and texture. Experiment to find your favorite!
How long does it take for the cheesecake to set?
The cheesecake needs at least 4 hours to chill. I recommend letting it set overnight. This time helps the filling firm up and blend the flavors. If you rush this step, your cheesecake may be too soft and hard to slice.
Is there a vegetarian version of this cheesecake?
Yes! To make it vegetarian, you can use these ingredients:
– Replace heavy cream with coconut cream.
– Ensure the powdered sugar is free from animal products.
These swaps keep your cheesecake tasty while meeting vegetarian needs.
Can I freeze No-Bake Oreo Cheesecake?
You can freeze this cheesecake! Here are some tips:
– Wrap slices in plastic wrap tightly.
– Store in an airtight container to prevent freezer burn.
To serve, let it thaw in the fridge for a few hours. This way, it stays creamy and delicious!
In this blog post, I shared a complete guide for a No-Bake Oreo Cheesecake. We covered essential ingredients, simple steps, helpful tips, and creative variations. Making this dessert can be easy and fun, even for beginners.
As you try this recipe, remember to enjoy the process. You’ll love impressing family and friends with your delicious cheesecake. Happy bakin