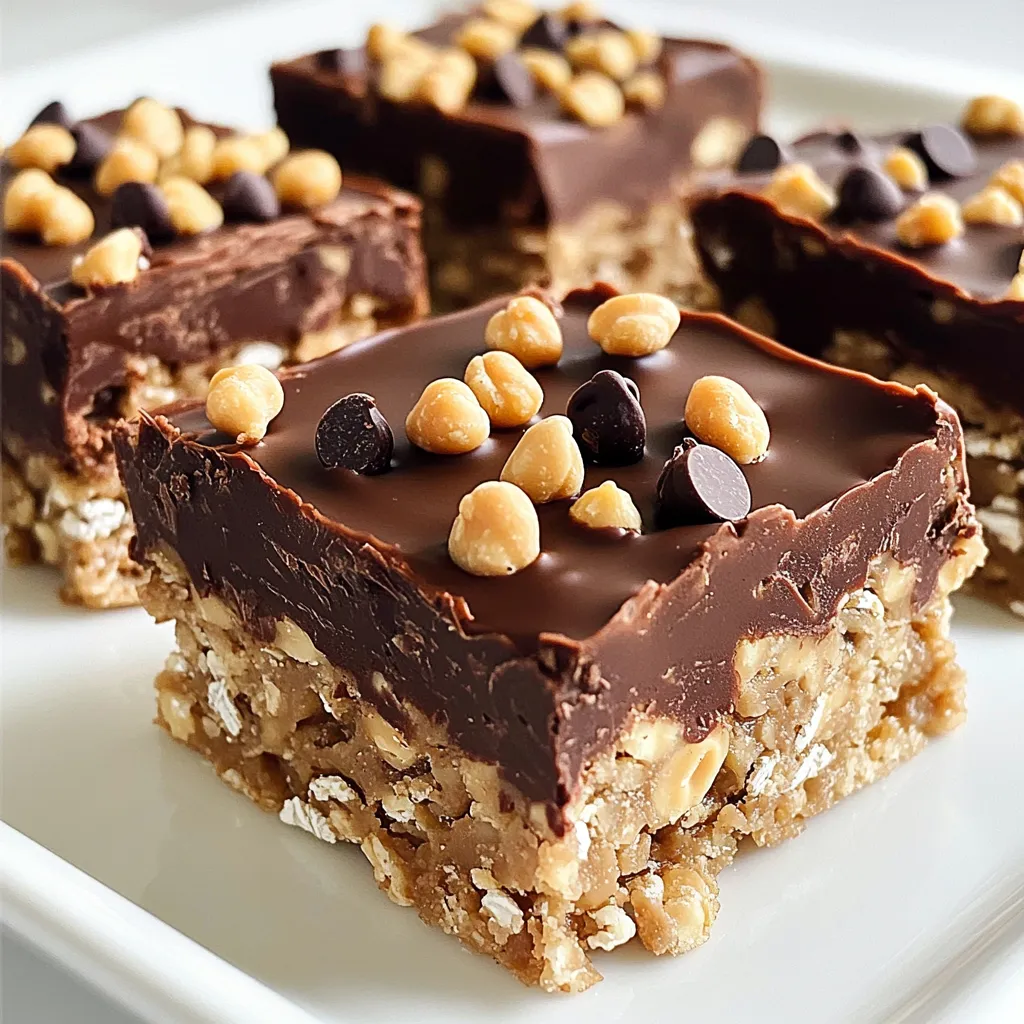
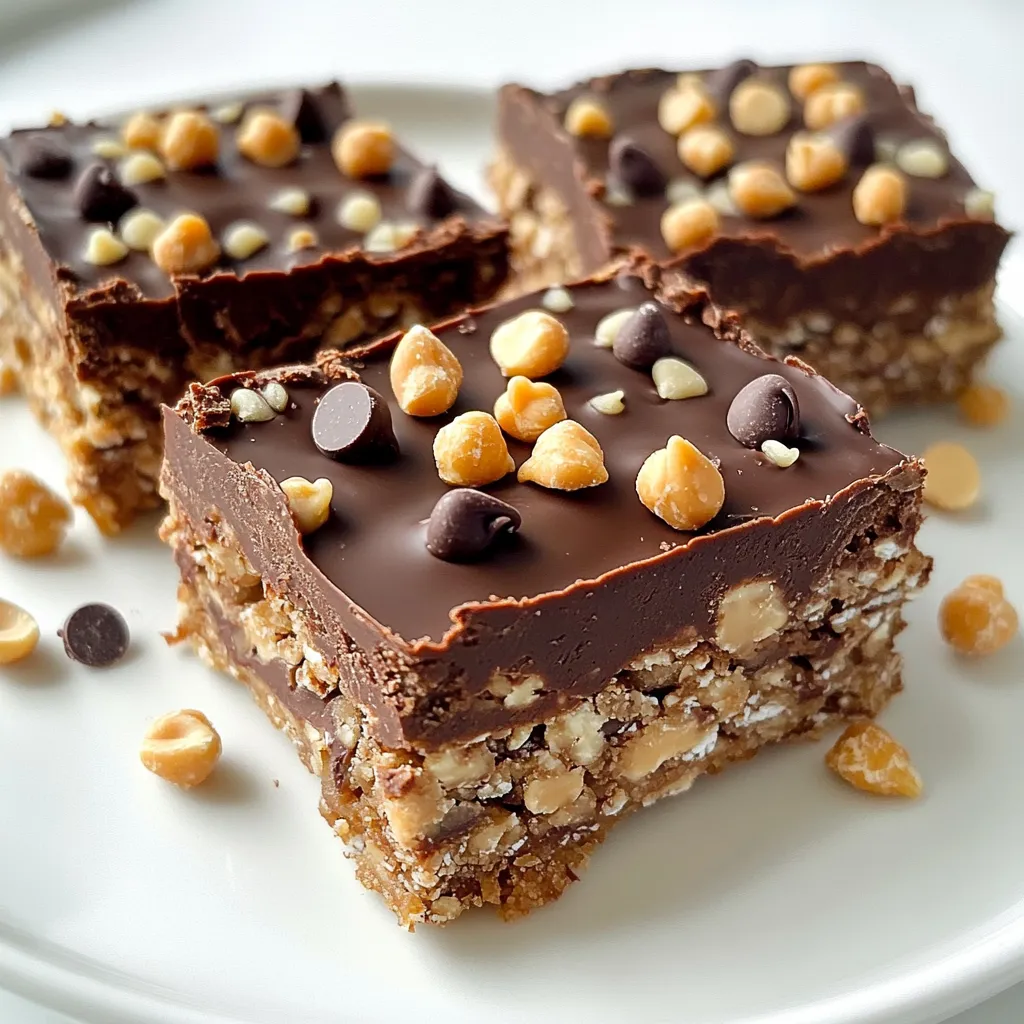
Are you craving a sweet treat that’s easy to make? Look no further than these delicious No-Bake Chocolate Peanut Butter Oat Squares! They combine rich chocolate and creamy peanut butter for a snack that’s both healthy and satisfying. In just a few simple steps, you can whip up this delightful dessert. Get ready to impress your family and friends with a treat that’s perfect for any occasion!
Ingredients
List of Ingredients
– 1 cup rolled oats
– 1/2 cup natural peanut butter
– 1/4 cup honey or maple syrup
– 1/2 cup dark chocolate chips
– 1/4 cup milk (dairy or non-dairy)
– 1/2 teaspoon vanilla extract
– Pinch of salt
– Optional toppings: crushed peanuts, shredded coconut, or mini chocolate chips
To make No-Bake Chocolate Peanut Butter Oat Squares, gather these ingredients. Start with rolled oats for a hearty base. Use natural peanut butter for creaminess and rich flavor. Choose honey or maple syrup as your sweetener, depending on your taste. Dark chocolate chips give a sweet and rich touch.
For the liquid, pick milk, whether dairy or non-dairy. Vanilla extract adds a warm note, while a pinch of salt enhances all the flavors. You can also add toppings like crushed peanuts or shredded coconut for a fun twist. These ingredients come together to create a treat that is both simple and delicious.
Step-by-Step Instructions
Mixing the Base
– In a medium bowl, combine:
– 1 cup rolled oats
– 1/2 cup natural peanut butter
– 1/4 cup honey or maple syrup
– A pinch of salt
Start mixing these ingredients well. You want a thick paste that sticks together. This step is key. If it feels too dry, add a touch of honey. If it’s too sticky, a few more oats help.
Preparing the Chocolate Mixture
– In a small saucepan over low heat, melt:
– 1/2 cup dark chocolate chips
– 1/4 cup milk (dairy or non-dairy)
Stir continuously until the chocolate is smooth. Be careful not to burn it. Once melted, remove it from heat and stir in:
– 1/2 teaspoon vanilla extract
This chocolate mixture adds rich flavor. The vanilla gives it a nice touch.
Final Assembly
– Pour the melted chocolate mixture over the oat mixture.
Stir until everything is well combined. The mixture will be thick and creamy.
– Line an 8×8 inch baking dish with parchment paper.
Leave some paper hanging over the sides. This helps lift the squares out later.
– Transfer the mixture into the baking dish.
Press it down evenly with your hands or a spatula. Make sure it’s tightly packed.
– Optional: Top with crushed peanuts, shredded coconut, or mini chocolate chips, pressing them in slightly.
These toppings add extra crunch and sweetness.
Refrigerate for at least 2 hours or until firm. Once set, use the parchment paper to lift out the mixture.
Cut it into squares or bars. Enjoy your tasty treat!
Tips & Tricks
Achieving the Perfect Consistency
To make these squares great, you need a thick paste. This thick paste helps you handle it better. If it’s too runny, the squares won’t hold their shape. When mixing the oats, peanut butter, honey, and salt, make sure to stir well. You want every bite to be tasty.
Melting chocolate can be tricky. Here are my tips for melting chocolate smoothly:
– Use low heat to avoid burning.
– Stir constantly until it’s shiny and smooth.
– Add milk slowly to help it melt evenly.
Serving Suggestions
Presentation matters! Here are some fun ways to serve your squares:
– Place them on a colorful plate to catch the eye.
– Dust them lightly with cocoa powder for a fancy touch.
– Add a few extra chocolate chips or crushed peanuts on top.
You can also change the toppings. Try crushed peanuts, shredded coconut, or mini chocolate chips. Each topping gives a new flavor and look.
Common Mistakes to Avoid
A few mistakes can ruin your squares. First, don’t overmix the oat mixture. It can make the squares tough. Just mix until combined.
Another mistake is not chilling long enough. Make sure to refrigerate for at least 2 hours. The longer they chill, the firmer they get. Enjoy the delicious results!
Variations
Substitutes for Ingredients
You can easily swap out peanut butter if you want. Almond butter works great and tastes yummy. Sunflower seed butter is another good choice, especially for nut-free diets. For sweeteners, if you don’t have honey, try agave syrup. Brown sugar also adds a nice touch and sweetness.
Flavor Additions
Adding nuts or dried fruits can boost texture. Chopped walnuts or almonds bring a nice crunch. Dried cranberries or raisins add a sweet chewiness. You can also infuse flavors. A dash of cinnamon gives warmth, while a pinch of sea salt enhances sweetness. Both are simple ways to make your squares even tastier.
Dietary Variations
If you need a gluten-free option, use certified gluten-free oats. They taste just as good! For vegan versions, choose dairy-free milk and sweeteners like maple syrup. This way, everyone can enjoy these tasty treats.
Storage Info
How to Store Leftovers
To keep your No-Bake Chocolate Peanut Butter Oat Squares fresh, use an airtight container. A glass or plastic container works well. Place a piece of parchment paper between layers if you stack them. This helps avoid sticking. Store the squares in the fridge for maximum freshness. They will stay good for several days.
Freezing Instructions
If you want to keep the squares longer, freezing is a great option. Wrap each square in plastic wrap. Then, place them in a freezer-safe bag or container. This keeps them from getting freezer burn. When you’re ready to enjoy them, take out what you need. Let the squares thaw in the fridge for a few hours. You can also eat them straight from the freezer for a cool treat.
Shelf Life
In the fridge, these squares last about one week. If you freeze them, they can stay fresh for up to three months. Just remember to check for any signs of spoilage before eating. Keeping them stored properly ensures you enjoy their rich flavors longer.
FAQs
Can I omit the sweetener?
Yes, you can skip the sweetener. However, the squares will taste less sweet. This change affects the overall flavor and balance of the dish. Without the sweetener, the chocolate may taste too rich. You can use ripe bananas or unsweetened applesauce as substitutes. Both options add natural sweetness and moisture. Adjust the amount to your taste.
How long do these squares last?
These squares stay fresh for about one week in the fridge. Store them in an airtight container to keep them from drying out. If you want to enjoy them longer, you can freeze them. They can last up to three months in the freezer. Just remember to wrap them well to prevent freezer burn.
Can I make these squares nut-free?
Yes, you can make them nut-free. Use sunflower seed butter or soy nut butter instead of peanut butter. Both options work well as a binding agent. For sweetness, maple syrup or agave syrup can replace honey. Always check labels to avoid cross-contamination if allergies are severe.
This blog covers how to create tasty oat and peanut butter squares. We discussed the key ingredients, like oats and chocolate, and how to mix them properly. I shared tips for serving and common mistakes to avoid. You can also explore variations with different flavors and dietary needs.
Remember, these squares are easy to store and freeze. You can enjoy them fresh or save them for later. Now it’s your turn to try this fun recipe and make it your own!